|
This next recipe is super easy to throw together. I simply combine all the ingredients into my magic bullet and blend for 30 seconds. Then I'm ready to start cooking! The result is a fancy and delicious crepe your guests will not be able to decipher the difference between the real thing! Easy Gluten Free Crepes
Directions:
Bon appétit!
0 Comments
If you haven't discovered Oat Flour yet, let me one of the firsts to tell you a little bit about it. It's fantastic. It's a versatile gluten free flour that not only you -but your whole family will love! Check out some of the great benefits and recipes below: Nutritional benefits of Oat Flour:
Oat Flour for BABY:
Want some great Gluten Free recipes that call for Oat Flour? |
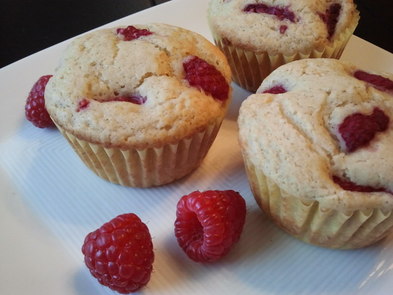
Gluten Free Raspberry Oat Muffins Oat Flour, milk, and fresh raspberries make these muffins a moist breakfast treat that your whole family will love! |
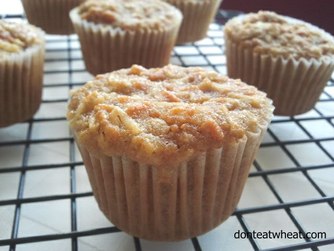
Gluten Free Carrot, Apple & Coconut Mini Muffins These mini muffins may not look like much but they're packed full of nutrients...but by the taste of things...you'd never know! Your kids will beg for more. |
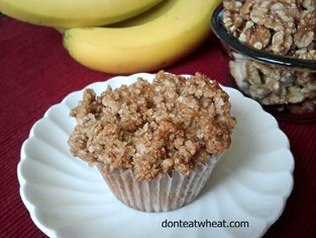
Gluten Free Banana Muffins with Walnut Streusel Oat flour, bananas, and walnut streusel come together in this next recipe to create an irresistible combination. Seriously, who can say no to streusel? |
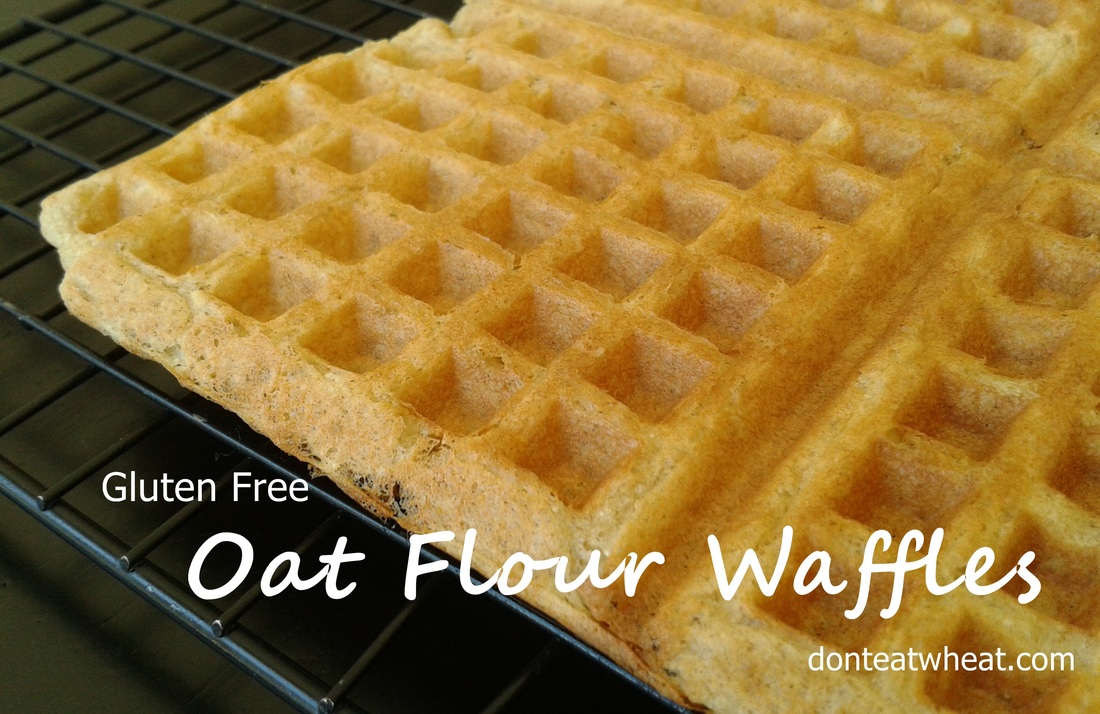
Gluten Free Oat Flour Waffles These are great high protein waffles made from Oat & Coconut Flour. They hold together well and can even be used as a base for a sandwich. (See my Peanut Butter & Jelly Waffle Sandwich Recipe.) |
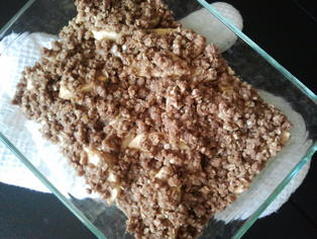
Gluten Free Apple Crisp Oat Flour... meet dessert! This is one of our favorites. Serve it up with ice cream and it's magical. ;) |
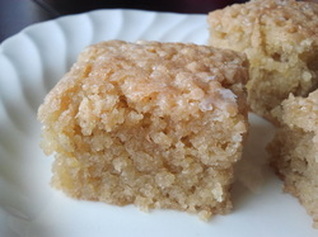
Gluten Free Almond Cake with Almond Icing Last but not least- one of my all time favorites! This cake is so addictive for me I have to avoid making it so I'm not tempted to eat the entire pan... Enjoy! |
How to squeeze out my Easy Gluten Free Breadsticks:
How to smooth out the tops and edges of the Breadsticks:
Demo on greasing the breadsticks:
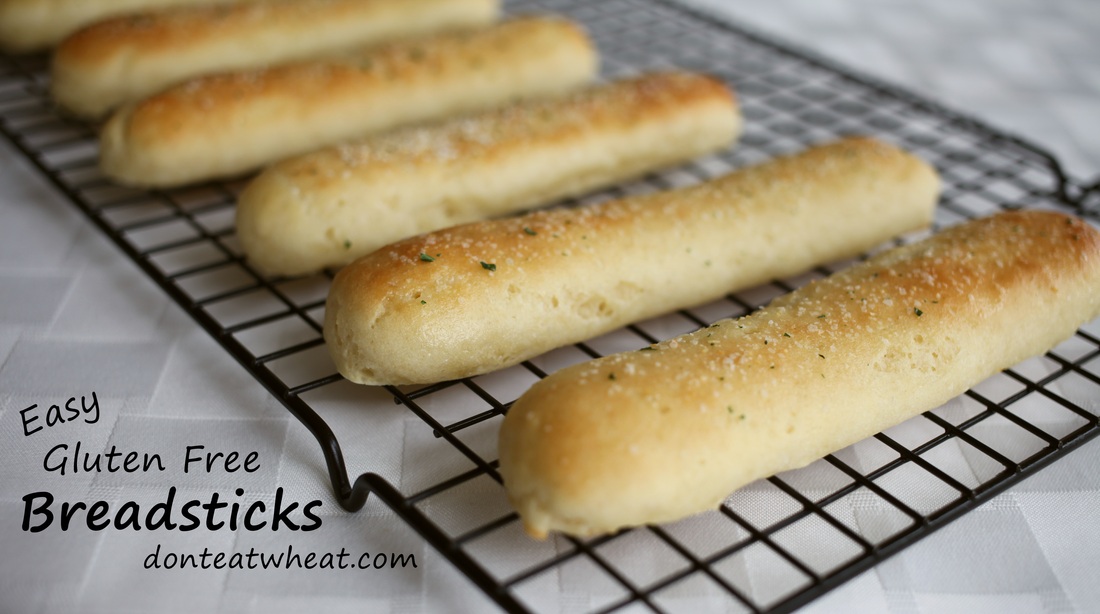
I had never attempted breadsticks before this point but decided to use my Quick Gluten Free Dinner Roll recipe as the base. They turned out fantastic! Even the non-gluten-free eaters were loving them! Get this- my biggest critic- even had 3! ;)
The bag method I use for these is super easy. It just takes a steady hand of squeezing. ;)
These breadsticks are gluten and dairy free but if you can eat butter- they're all the yummier!
Enjoy!
Easy Gluten Free Breadsticks
Created by jalene
Yields over 20 Breadsticks (5 to 6 inches long)
Ingredients:
- 2 Tbsp yeast
- 1 & 1/4 cup warm water (110 degrees)
- 6 Tbsp grapeseed oil
- 1/4 cup sugar (I use evaporated cane juice sugar)
- 2 cups brown rice flour
- 1/2 cup + 2 Tbsp potato starch
- 1/4 cup + 2 Tbsp tapioca starch
- 1 & 1/2 tsp xanthan gum
- 1 tsp sea salt
- 2 eggs
- Garlic Salt
- For dairy Free: 1/4 cup extra grapeseed oil OR melted Earthbalance OR
- for dairy infested: 1/4 cup melted butter
 Space the breadsticks on the pan with enough room to raise. I fit 12 on a cookie sheet.
 - Preheat your oven to 425 degrees F. Lightly grease 2 cookie sheets.
- Whisk together the yeast and warm water. Add in the grapeseed oil and sugar. Cover with a towel and allow to double in size while you measure out your dry ingredients.
- In a mixer combine the brown rice flour, potato starch, tapioca starch, xanthan, and salt. When the yeast mixture is ready, add it and the eggs to the dry ingredients. Mix on low speed for 30 seconds then turn up the speed to medium and continue mixing for 2 & 1/2 more minutes.
- Immediately scoop the dough into a large ziplock bag. Seal the bag completely and cut off one of the corners opposite of the seal. I found 1 inch makes perfect Olive Garden size breadsticks. (The cut off part should be a triangle.)
- Steadily squeeze out the dough onto your prepared pan in your desired length. I made mine about 5 inches long. Smooth any rough edges with water-wet fingers.
- Top the breadsticks with half of the melted butter or Earthbalance. Allow them to sit 5 minutes than bake 8-12 minutes or until the breadsticks are golden brown.
- Immediately top with the remaining butter and sprinkle on the garlic salt.
For leftovers: allow the breadsticks to cool completely before storing in a ziplock bag. I try to use these within 1-2 days, otherwise they tend to dry out. They also can be frozen for later use! Simply freeze them the day you make them for optimal freshness.
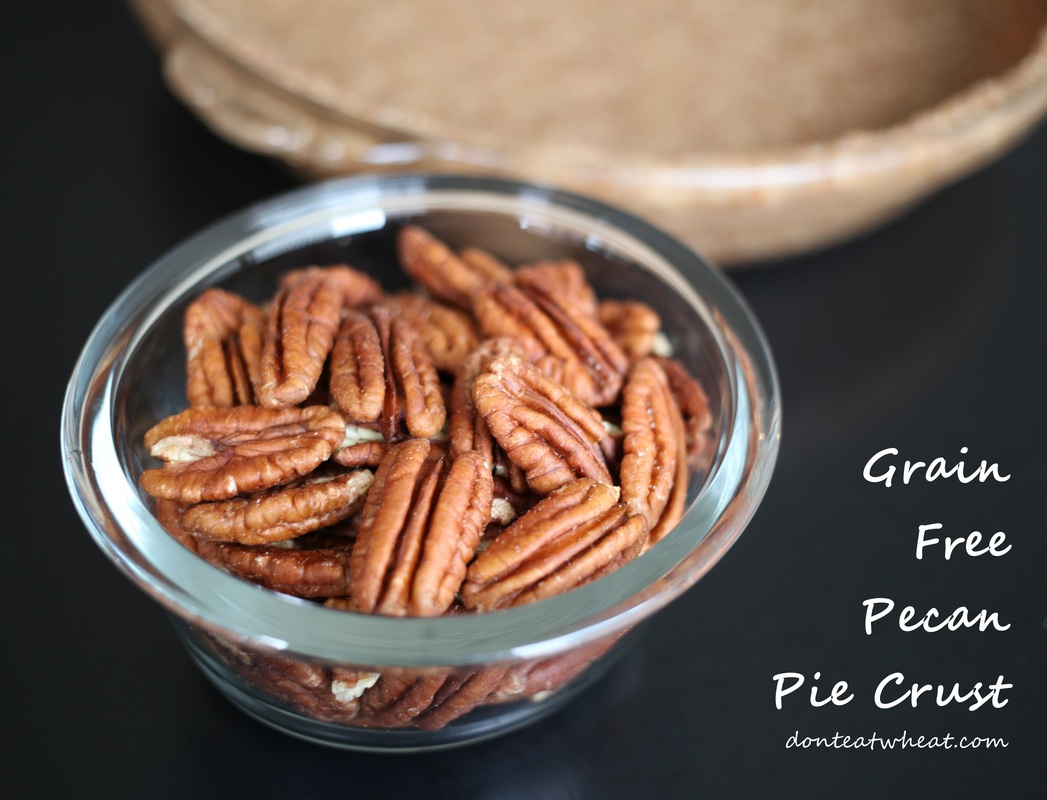
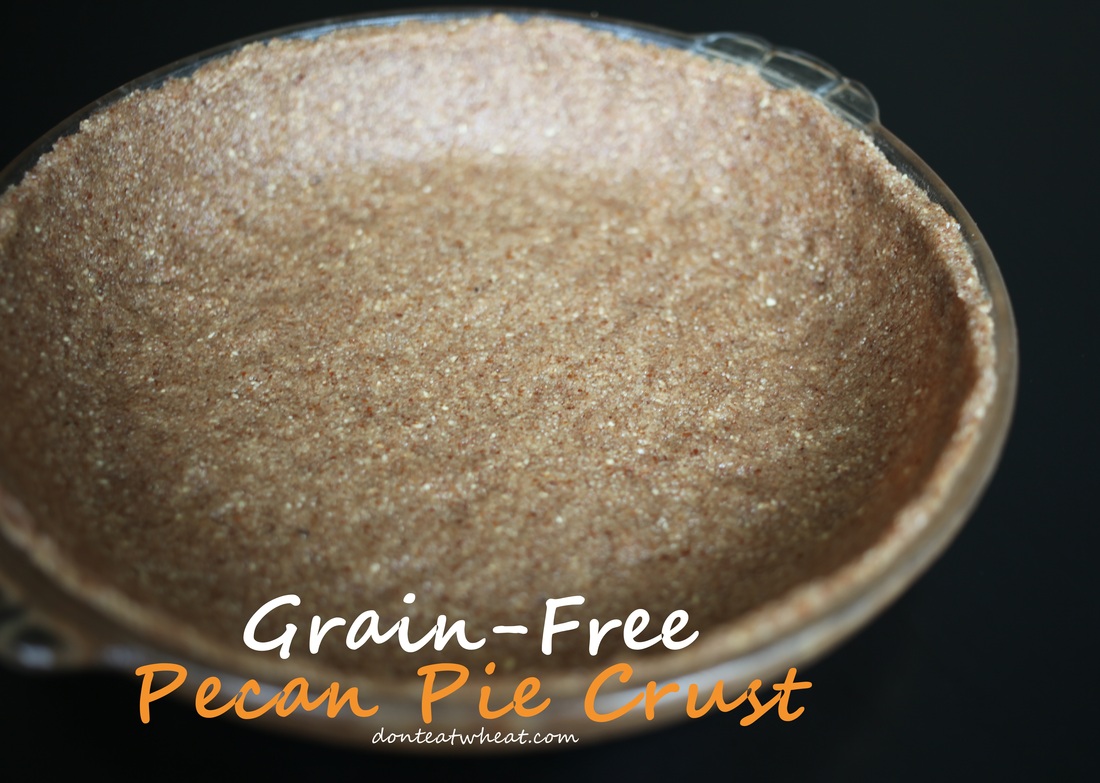
I was a little skeptical of this next recipe because it's main ingredient are nuts. I'm not a huge nut fan by any means. But goodness sakes. Pecans, butter and sugar- all baked together- create this magical flavor. It's so good, it's changing my mind about ol' nuts.
This crust works best with a custard style pie. I've tried apple pie and pumpkin pie but the crust tends to get a little mushy with those. A cheesecake would be yummy with it too!
It's really simple to throw together. No rolling. Just press it into you pan. Enjoy!
Grain Free Pecan Pie Crust
- In a food processor grind your nuts, cinnamon and sugar together until it resembles a meal. Mix in the melted butter until well combined.
- Press the mixture into your pie pan. Chill the crust for 30 minutes in the refrigerator.
- Preheat your oven to 350 degrees.
- Place the crust on a cookie sheet in the middle rack of your oven and bake about 15 minutes or until lightly brown. Watch carefully, nuts burn easily. Cool completely before filling.
Helpful pie making tools:
| | | |
Let me start by sharing an article that was published yesterday by the Columbus Dispatch titled "Thousands break Ebola quarantine to find food." In Sierra Leone, thousands are breaking their quarantine because they are starving. Quarantine rules have restricted food in and out of towns of which the government, along with help from the U.N.'s World Food Program, is supposed to be monitoring. Restrictions though have made food scarce, and scarcity has driven up the prices so that people can not afford what little food is available. Simply put it's a tough lesson of supply and demand. Although it could affect all of us because these food-seeking-quarantine-breakers carry one of the deadliest diseases known to date.
The honest truth is that disaster may strike at our door. Whether it be from man-made disasters, ailments, or disease, even the government advises us to be prepared.
And getting prepared has been on my brain lately. Hence this post. So, let's start at the basics:
72-Hour Gluten Free Emergency Kit
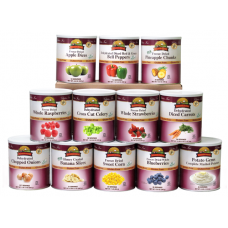
Of course you will also need 3 days worth food. I've seen some kits with simply enough protein bars to last you the entire time or you can get a little more creative with some of the following food ideas (be sure the foods you choose have at least a 6 month shelf life):
|
|
Trust me, it feels good to be prepared. If you feel you need some extra help we The Survival Mom's basic preparedness tips as well.
Next, let's tackle something bigger....
3 Month Gluten Free Food Storage
Planning for 3 months takes a little bit of thought. We have found that this webiste: Food Storage Made Easy breaks down a great plan of how to get started. They also have some great gluten free food storage ideas.
Start by estimating how much product you use in a 3 months time and then keep that amount on your shelves. If you use up a package of something, replace it by adding the new one to the back of your supply as to continually rotate your food through.
Of course some items are difficult to have 3 months worth of such as meats, fresh fruit and vegetables. Frozen or canned options work well. We prefer frozen but in a case of power outage the freezer would become worthless.
1 Year Gluten Free Food Storage
So, where to begin...
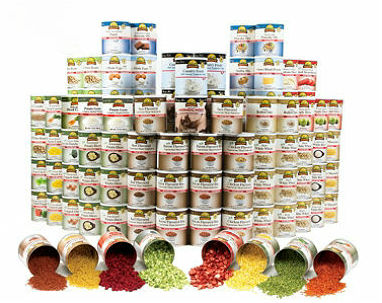
Don't get overwhelmed but this might be bigger than you thought. I know at first when I was figuring out just how much food storage to buy I thought "Ok, if I want to eat 3 servings a day for an entire year that equals out to 1,095 servings per person. We have 4 in our family so we will need at least 4,380 servings!" But when I really started to think about it, we are actually supposed to have multiple servings each meal!
The American Heart Association says that if you're trying to keep a 2,000 calorie/day diet you need the following EACH DAY:
- 6-8 servings of grains
- 4-5 servings of vegetables
- 4-5 servings of fruit
- 2-3 servings of dairy product
- 6 oz of meat
- 2-3 servings of oils
- less than 1 serving of nuts, seeds, and legumes
- less than 1 serving of sweets
That's roughly 21 servings a day. For a family of 4- I actually need closer to 30,660 servings! Yikes! So, where do we begin!?!
Some food storage companies actually offer 4-person, 1 year food storage packages with up to 32,000 servings but it's tricky to find ones that are gluten free. (PS- My husband claims he can live off of 2 meals a day but I say better to be safe than hungry!)
So, when it comes time to make the important purchase of long-term food storage items, how do you know where to shop? Let me answer your question with a question. Want to see a cool site? This site actually compares the top emergency food stores available. Their #1 choice is The Ready Store. I haven't shopped there but they are very allergy friendly! I personally have been very impressed with Thrive.
|
- Walmart (some single options but cheapest by far + free shipping)
- The Ready Store- (a lot of options including Gluten Free, Dairy Free, Vegan, Nut Free, Soy Free)
- Augason Farms (a lot of options, including kits)
- Wise Food Storage (a couple of options, including kits)
- Prepare Wise (some options, including kits)
- Costco.com (some options, have to be a member to purchase)
- lds.org (cheapest but processed in the same facility as wheat)
Now that you're ready to start purchasing and you know some good sites/store to purchase from it's important to know the following...
Freeze Dried vs. Dehydrated Food:
Which is better?
Freeze Dried Food:
| Pros:
| Cons:
|
Dehydrated Foods:
| Pros:
| Cons:
|
The Food Guys have a great food storage calculator that you can plug in the amount of adults and kids in your family and then it will give you a basic recommendation of a year's supply minimums. We used this as a guide and then substituted our needs in place of what we are allergic to (ie wheat and dairy products).
For example, our recommendation says to have on hand 450 lbs of wheat. We are replacing that number with other grains such as oats and rice as well as with more beans and lentils. We do have some wheat in our food storage from before our gluten free days. We don't plan to throw it out though. We intend to sprout it (which can easily be done on some moist paper towels if needed) and then consume the wheat grass. Just be aware that the sprouts would not be edible because they contain the gluten.
In using the food storage calculator as a guideline, it's also important to remember to keep in mind your family's eating habits as well. For instance, our recommendation came out to say that we needed 8 lbs of Corn Syrup. Since we NEVER use Corn Syrup, it's not something we'll store. Instead, we are storing extra sugar and honey. I also have Brown Rice Syrup that can be used 1:1 for Corn Syrup in recipes.
|
|
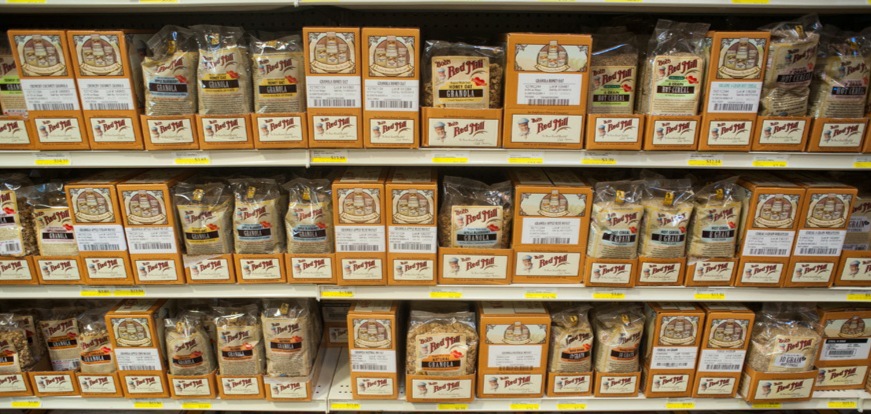
I find that Bob's Redmill has a great method to store Gluten Free Flours. They sell their products typically in packs of 4 that fit into a nice box. When you open the box, the top of the box can be removed so the base remains- holding the 4 bags. It's AWESOME. They're clearly marked with expiration dates and their items usually last at least a year. As you use product- always keep the newest in the back, using the oldest first.
If you're looking for Long-Term Food Storage- Bob's Redmill offers that too! They have over 200+ products available for long-term plus the tools you need to keep them safe long term. Visit their helpful page HERE.
- herbs, seasonings, black pepper, etc. (very important for a variety of flavors)
- ketchup, mustard, etc
- nuts (keep longest in the freezer)
- canned tomatoes, tomato sauce, tomato paste, tomato puree, etc
- seeds such as chia, flax, sesame, hemp, etc.
And then of course think of the non-food items you use on a daily basis. Some examples are:
- soap
- contacts & contact solution (if applicable)
- plastic baggies
- shampoo & conditioner
- diapers, wipes
- plain bleach
Another great website for all the nitty-gritty in long-term food storage, including Q & A's, can be found on LDS.org.
How can I afford it & where do I store it all?
| We currently live in a an apartment and I hear the same issue from most of the people that live around us. They say, "Where do you have room?!" or "When we get a home, then we'll buy more food storage..." or "How do you pay for it all?! It's so expensive." So I wanted to share what we've learned so you don't have to go through the same learning curve as we did. Let's tackle the issue of not enough room. Here are some ideas on storing stuff in a limited amount of space. | Did you know "An entire year supply {for one person} can be fit into a 2 ft x 3 ft area, stacked 5 ft high" if using #10 cans? |
- Inventory your space- I went around my house and wrote down every little place that could handle some extra food storage. (For example: under my bed, under my kid's beds, above the fridge in the cupboard, etc. Once I started to hunt, I found the space! It also helps you achieve this next tip:
- Clean out the clutter- I bet there are some things in your house that you are not using and could be taken to the D.I. or Goodwill. I know my wedding dress isn't going to do me much good...why keep that in the closet? Replace that precious space with food storage!
- Turn your food storage into furniture- I saw this as a joke one time but seriously you could build a cute window seat in your child's bedroom and store a lot of food storage inside of it! Get creative.
- Utilize dead space- Sometimes places under the stairs, etc has "dead space" that could be turned into storage. See Pinterest for ideas on smart space storage.
- Absolutely no room? Rent a storage space- I've known people that invest $15 dollars a month to store their food storage. If you're that desperate on space, that's always an option.
- Budget- Look at your finances and see how much you could afford to set aside each month on investing in food. Some companies such as Thrive.com offer great programs take your monthly budget and then ship items to your house each month.
- Sacrifice- Perhaps you could go out to eat 1 less meal a week. That's at least 5-10 bucks a week and 20-40 bucks a month. You could invest that money into food storage.
- Sell your "clutter"- After decluttering your house to make space for your food storage, you can sell your unwanted items on craigslist, ebay, amazon, ksl.com, etc. Then use that money to purchase food storage. Remember, one man's junk is another man's treasure!
Let's sum up...
Survival acres.com says: "Most people are utterly unaware how fragile the US food supply really is. The mega-mergers of family owned farms and corporate giants, the declining energy supply, the fragile state of our infrastructure, and the vulnerability to things like hurricanes, pandemic, and oil prices are often misunderstood. America is the land of plenty, right?
Wrong. Not always. And certainly, not forever. During times of crisis, the supermarkets are stripped bare in a matter of hours. American's used to stock food as part of their everyday preparations but have since forgotten this time honored practice. Now, everyone rushes to the store to "stock up" when the news or events frighten them into doing so, but it's actually too late then (prices are already higher and availability is uncertain). Or worse, they will wait until after a disaster and find out there is nothing left. This has happened countless times in America's history of regional disasters. Everything is sold out and some merchants even take unscrupulous advantage of the crisis by jacking up prices sky high."
In conclusion, the task of getting your gluten free food storage may seem daunting. It may seem expensive. And it definitely will take up some room to store but when disaster strikes, you'll be thankful you did! Thanks for reading ;) Be sure to let us know tips YOU'VE learned on building your own storage.
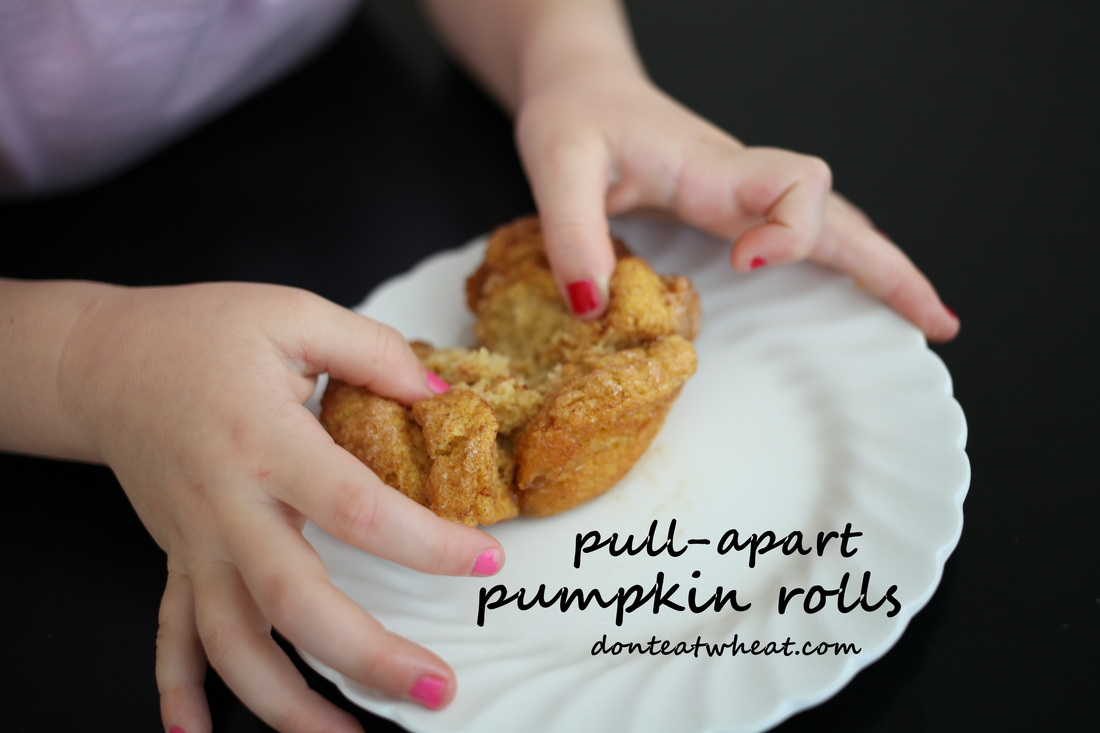
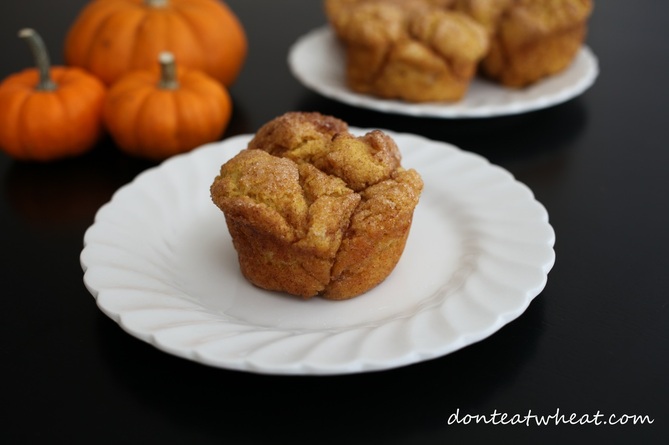
This recipe literally just came to me. I had seen gluten-infested pumpkin dinner rolls on pinterest and thought "Mmmmmm..." but then truly the addition of the cinnamon and sugar was divinely inspired... ;)
I think you're going to be seriously pleasantly surprised by the moistness of these tasty rolls. They're light and fluffy with just the perfect hint of pumpkin. They don't have the texture of a gluten-free bread AT ALL! You know what I'm talking about...that dense, dry stuff you dread. This recipe is different!
This recipe is versatile as well. To turn them into pumpkin cinnamon rolls simply top with this cream cheese frosting. If you don't care for pull-apart you can simple sprinkle the cinnamon and sugar on before baking. And if you want just a pumpkin dinner simply leave out the cinnamon & sugar all together.
Enjoy!
Gluten Free Pull-Apart Cinnamon & Sugar Pumpkin Rolls
| (Gluten Free, Can be Dairy Free, Corn Free, Soy Free) Created by jalene Ingredients:
| Additional Ingredients (if coating with sugar):
|
- Grease 12 muffin tins with coconut oil and set aside.
- In a small bowl combine the yeast, sugar, and warm water. Cover with a towel and let sit 6-8 minutes. I usually wait until it has doubled in size.
- In a mixing bowl or food processor combine rice flour, potato starch, tapioca starch, xanthan gum, salt, baking powder and pumpkin pie spice.
- Add the yeast mixture, egg, pumpkin puree, coconut oil, honey and apple cider vinegar and blend while scraping sides. Mix for 3 minutes on medium speed. (The dough will be thinner than regular bread dough and can not be shaped by hand.)
- Using a 1 inch cookie scooper, scoop a mound into your cinnamon and sugar. Coat the dough and place into muffin tin. Repeat two more times so you should have a total of three cinnamon & sugar coated mounds in 1 tin. Repeat until all the dough is used.
- Pour 1/2 tsp of the melted butter (or melted coconut oil or melted Earthbalance) over the top of each muffin section. (This gives an excellent taste and helps prevent sticking.)
- Spray a sheet of plastic wrap with olive oil and place on top of the rolls. Preheat your oven to 350 degrees F. Allow the rolls to raise 15 minutes.
- Bake for about 15-17 minutes. (They should be moist but not doughy on the inside.)
Secrets to my recipe success...
| | | | |
Enjoy ;)
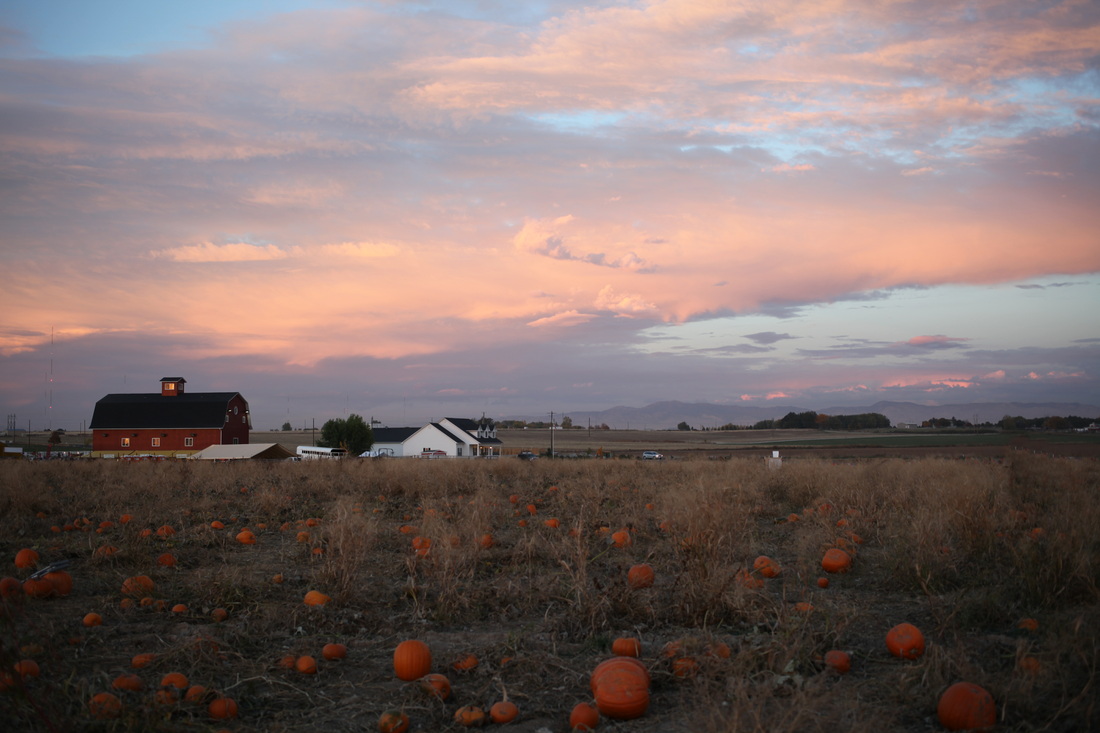
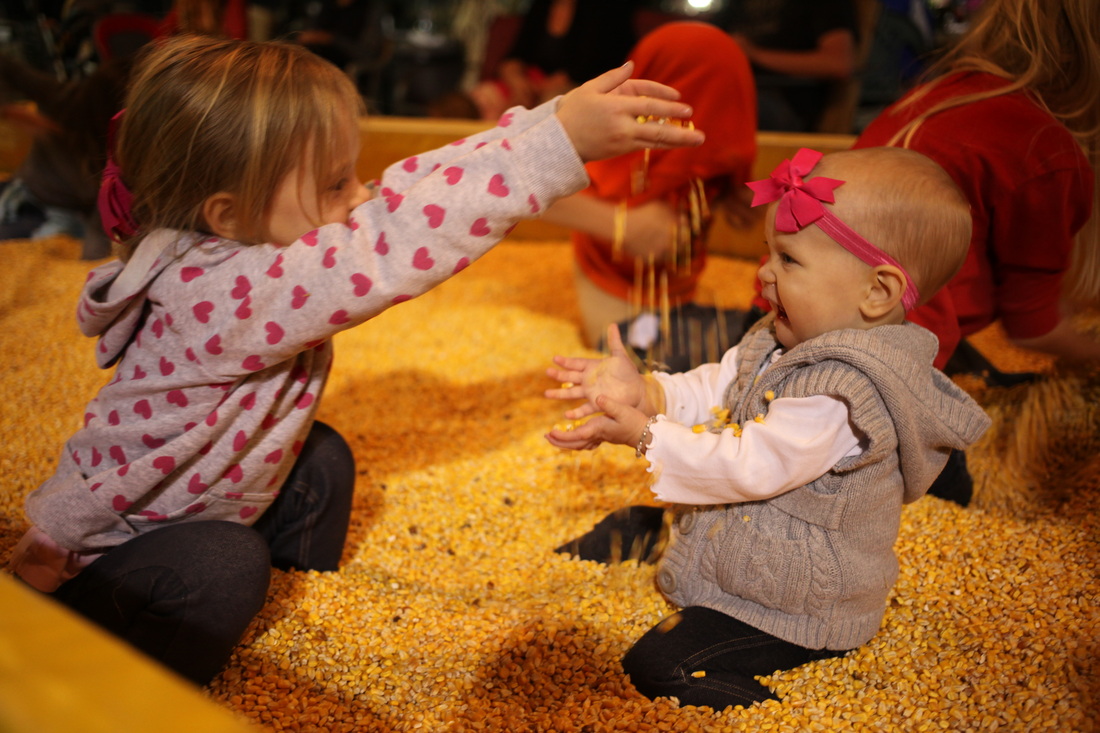
PS- Be sure to check out below my other photos from our Adventures @ the Pumpkin Patch.
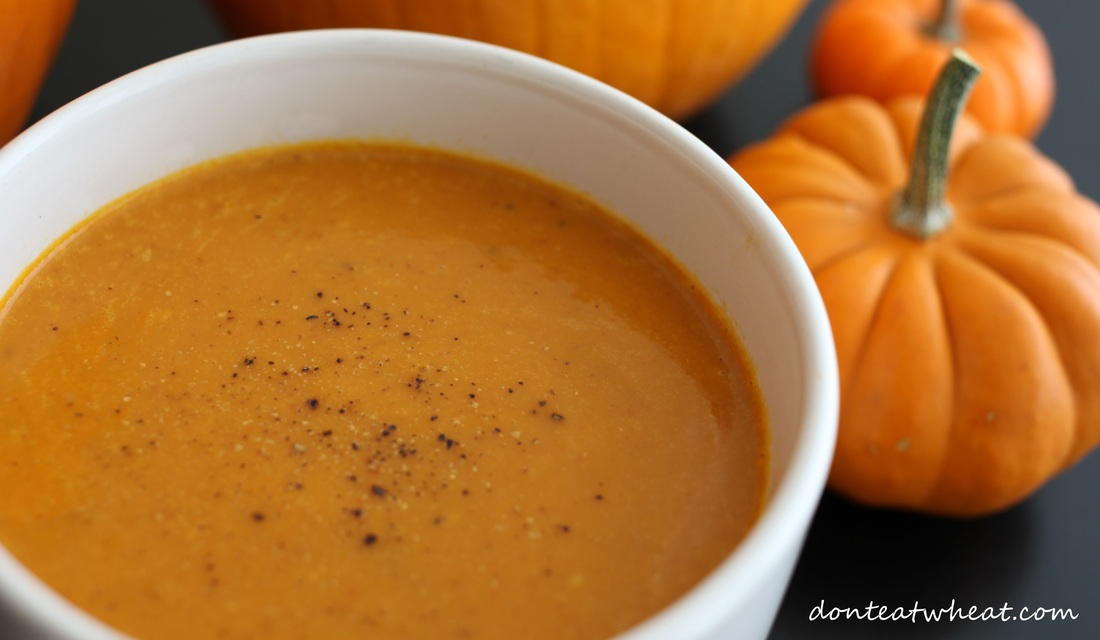
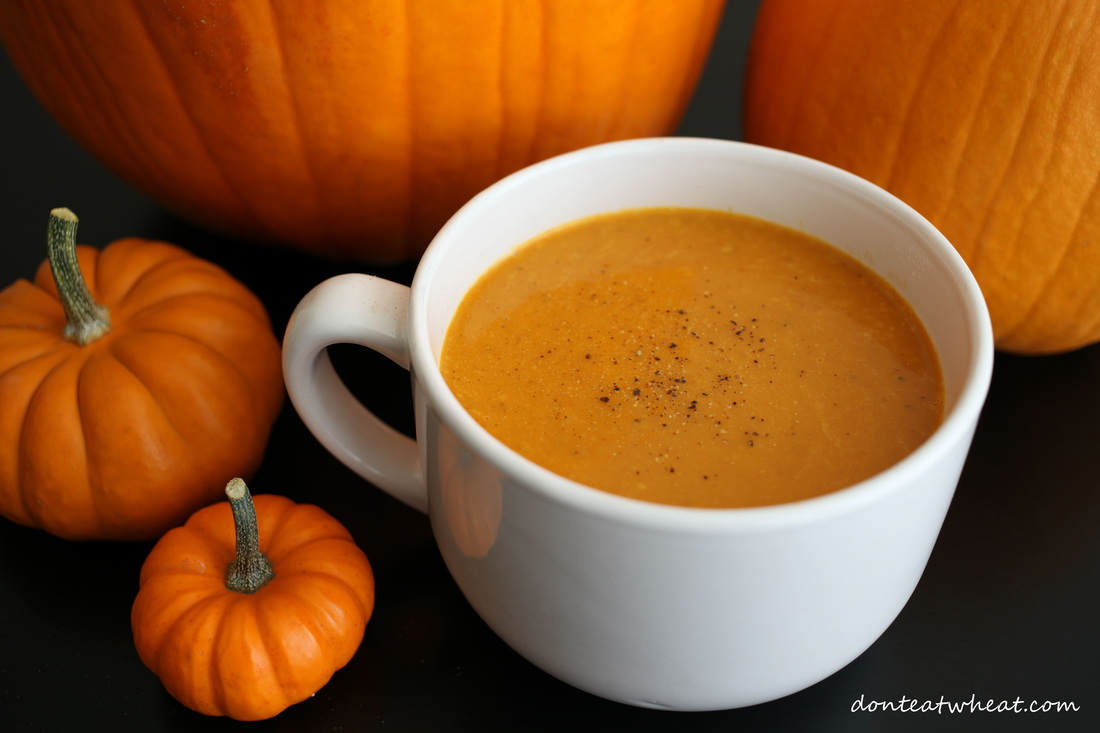
Thai Pumpkin Soup
| (Gluten Free, Dairy Free, can be Vegan) Altered by jalene from a recipe by foodbabe.com | Yields 6 cups (Serves about 4), Takes less than 30 minutes to prepare Ingredients:
|
| Directions:
|
Our adventures @ the pumpkin patch... |
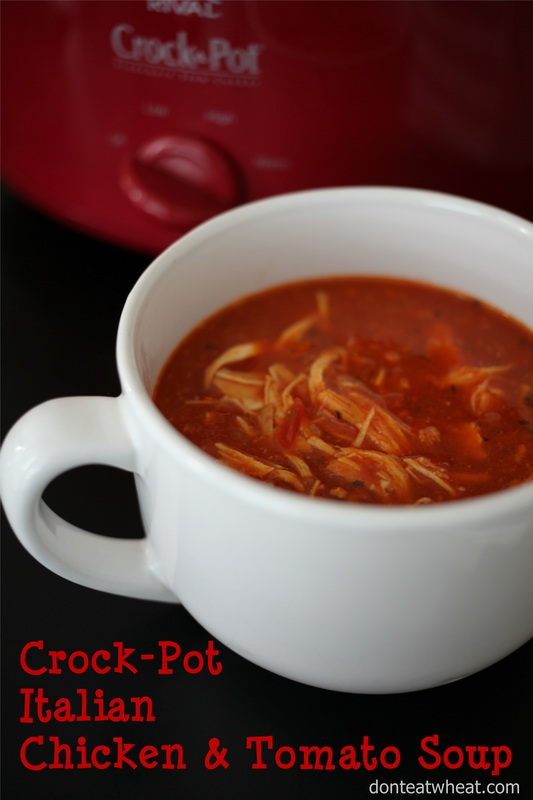
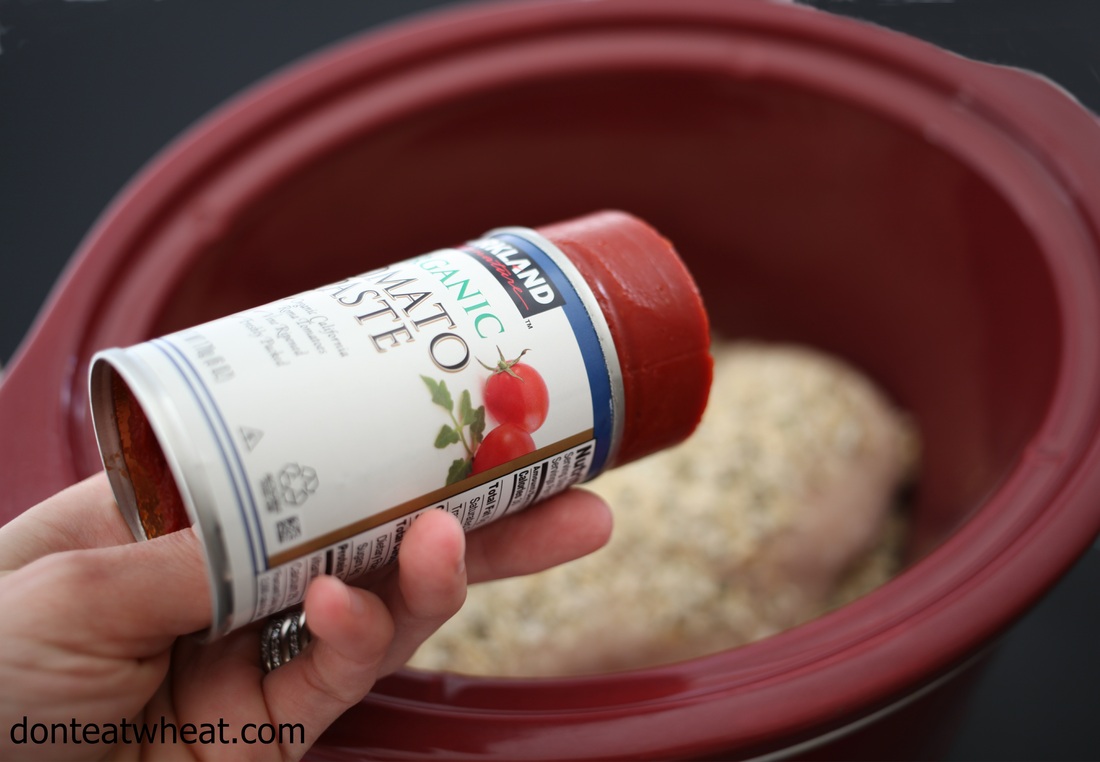
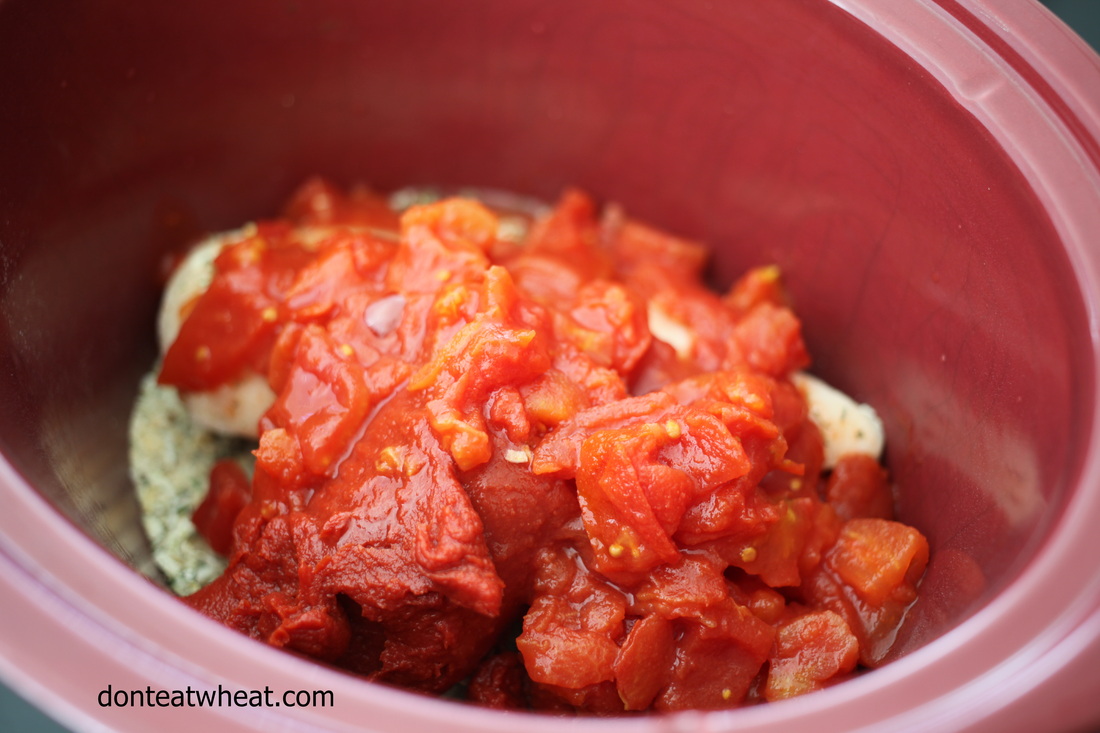
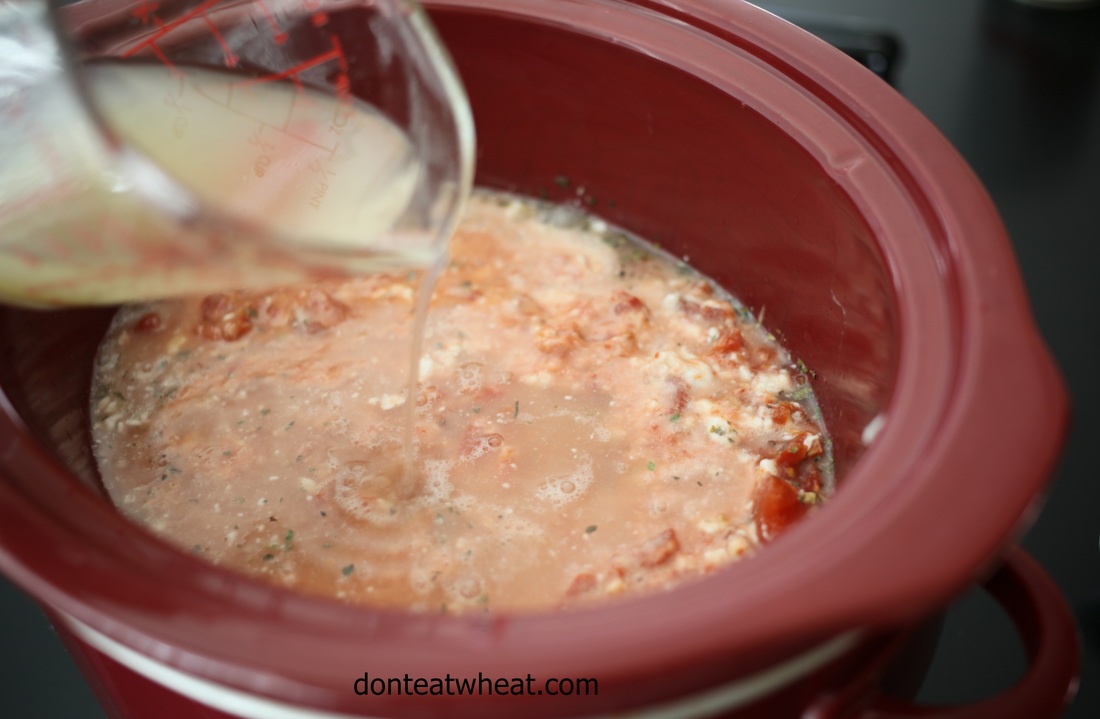
| I can't even begin to describe to you how much I LOVE the crockpot! Seriously. The fact alone that you can throw in multiple ingredients and hours later come back to a complete, delicious meal is more than my make-everything-from-scratch mind can handle. It's like this magical way to get the time back in the your day because you don't have to prep much to get something ready for dinner and washing dishes is a cinch. I saw this next recipe on Pinterest and adapted it for a quicker assemble. Don't be nervous about using the coconut milk. It doesn't stand out or distract the taste. There are A LOT of alterations you could do with this recipe so be sure to check out those below. Also look for my secret tip on getting ALL of the tomato paste out of the can WITHOUT using any kitchen tool! It's amazing. Enjoy this recipe...It's yummy AND easy! ;) |
Crockpot Creamy Italian Chicken & Tomato Soup
| (Gluten Free, Dairy Free) Adapted by jalene from a recipe by River North Paleo Girl Serves 4-6 Ingredients:
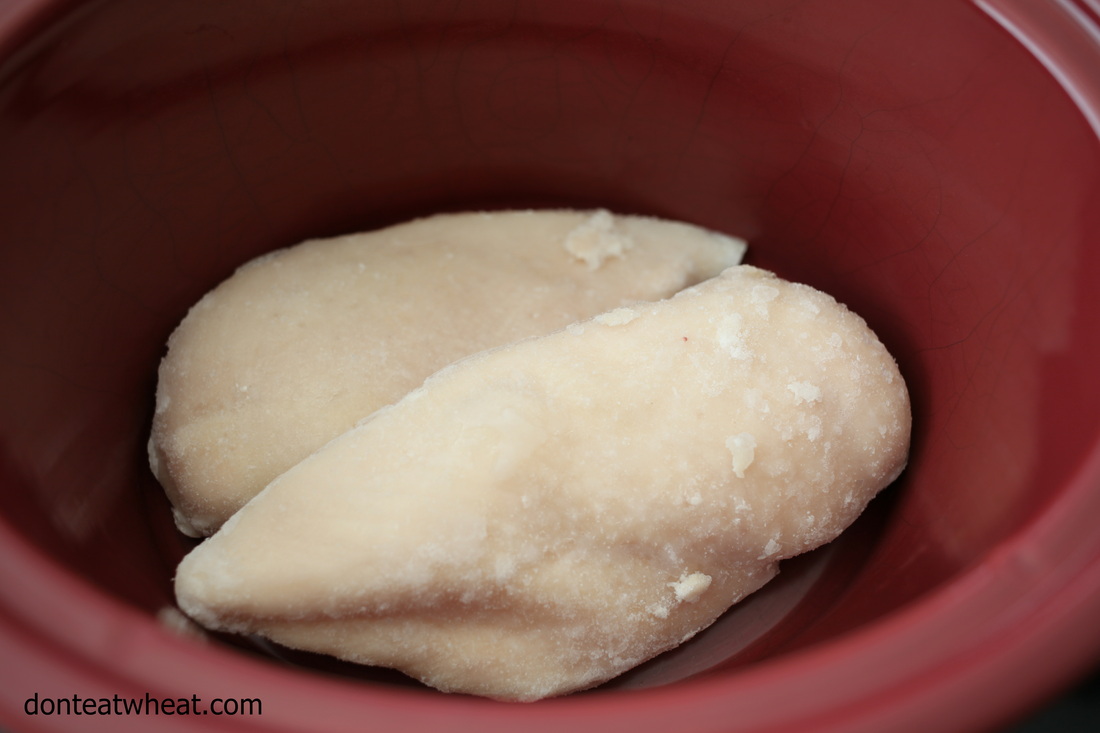
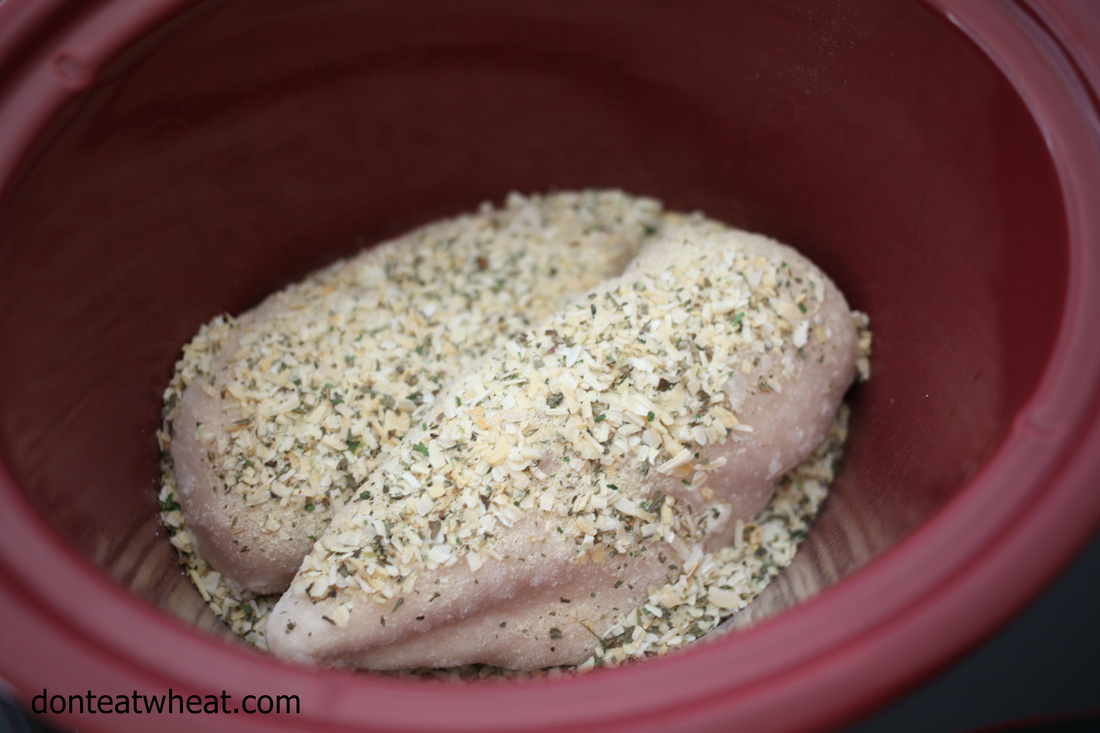
Directions:
Store leftovers in a covered container in the fridge for up to 3 days. This soup can also be frozen. Notes: *You can add the entire can (6 oz) of tomato paste. It creates a stronger tomato flavor. We prefer just the 3 oz. *Did you know you can scrape out a can of tomato paste without any utensils? (See picture to the upper right.) Using a can opener, simply open the top AND the bottom, then push up the paste like a push-up pop! Easy. Variations: This soup is very versatile! You can add corn or gluten free pasta to it before serving. It's also great over rice, spinach, squash, or served with cheese (if you can have dairy). Like I mentioned above you can slightly alter the flavor by increasing the tomato paste. You can also intense the savory by using my Italian Dressing Seasoning instead of Italian Seasoning. Let me know your favorite way to eat this! |
To make this recipe I used:
| | | | |
The Gluten Free Expo at Southtown Expo Center (Utah)
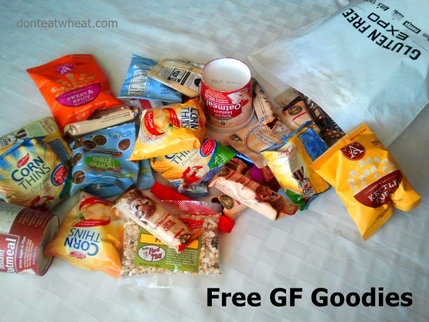
My honest opinion...Pictures are worth a 1,000 words...
Check out all the free stuff we walked away with last year! Not only did we "break even" but we gained some great knowledge on Gluten Free products available right in our area.
PS- kids under 8 are FREE!
Our FREE GF goodies consisted of prepacked snacks such as oatmeal, cookies, crackers, popcorn, bars, and more. We definitely loved being able to try these products before we consider buying them in the store.
| Our FREE coupons consisted of discounts at grocery stores, restaurants, local specialty gluten free bakery shops, and special gluten free prepacked foods. It gets better- at the event they have free classes, drawings, and plenty of give-a-ways. They also provide a kid area with blow up obstacle or bounce cages. Wow huh? So, when is this event exactly? This Saturday Oct. 11, 2014 9am – 5pm Tickets can be purchased ONLINE or at the door. So if you're in the South Salt Lake, Utah area this weekend you just may want to drop by! Ohh ya..A word to the wise- the Gluten Free Goody Samples at the show can be tempting! But watch out for that sugar-rush afterwards! Remember, "Gluten Free" doesn't mean it's "Sugar-Free" or "Fat Free." ;) | Southtown Expo Center 9575 S State St, Sandy, UT 84070 |
Looking for some other great ideas on what to feed your Gluten Free baby? Check out this post. And, for a great list of Gluten Free baby finger foods look here.
Gluten free babies...enjoy!
Baby Spinach & Potato Puree
posted by jalene
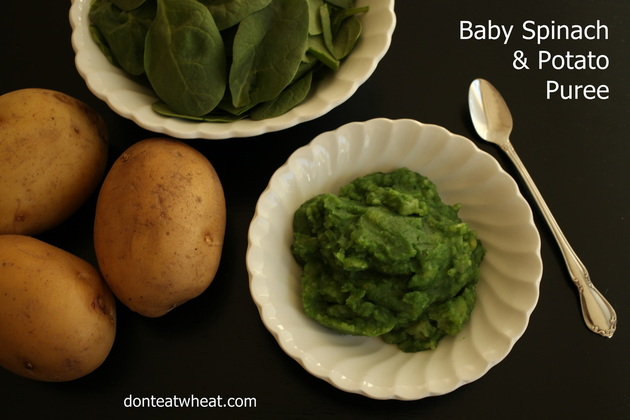
- 1 lb. organic potatoes, peeled and cut into 1 inch cubes
- 3 oz. organic spinach, washed
Directions:
- Bring about 4 cups of water to boil in a large saucepan over medium heat.
- Add your potatoes and cook until tender. Scoop out the potatoes with a strainer spoon and place them into a bowl. Keep the cooking water on the stove and add your spinach. Boil for 1 minute then remove from heat.
- Place the cooked spinach in a high speed blender with just enough water to puree them. Blend until smooth. Add the puree to your cooked potatoes and mash together. Add more liquid as needed if a thinner consistency is needed.
jalene
wife of a holistic doctor &
mom of gluten-free, dairy-free kids
Recipe Categories:
All
Candida Cleanse Recipes
Free Class
Free Give A Way
Gluten Free Appetizers
Gluten Free Baby Food
Gluten Free Beans
Gluten Free Beef Meals
Gluten Free Breads
Gluten Free Breakfast
Gluten Free Breakfast
Gluten Free Butters
Gluten Free Cakes
Gluten Free Casseroles
Gluten Free Chicken Meals
Gluten Free Christmas
Gluten Free Condiments
Gluten Free Cookies
Gluten Free Crackers
Gluten Free Crepes
Gluten Free Crockpot
Gluten Free Croutons
Gluten Free Cupcakes
Gluten Free Curry
Gluten Free Dessert
Gluten Free Dinners
Gluten Free Dips
Gluten Free Donuts
Gluten Free Dressings
Gluten Free Dry Packets
Gluten Free Food Storage
Gluten Free Frostings
Gluten Free Ganache
Gluten Free Grain Free
Gluten Free Granola Bars
Gluten Free Granolas
Gluten Free Granolas
Gluten Free Gravy
Gluten Free Hamburger Buns
Gluten Free Ice Cream
Gluten Free Kids Meals
Gluten Free Lentil Tacos
Gluten Free Lunches
Gluten Free Milk Alternatives
Gluten Free Muffins
Gluten Free Muffins
Gluten Free Nuts
Gluten Free Paleo
Gluten Free Pancakes
Gluten Free Pasta Meals
Gluten Free Pies
Gluten Free Pizza
Gluten Free Pizza Sauces
Gluten Free Popcorn
Gluten Free Pressure Cooker Meals
Gluten Free Pudding
Gluten Free Pumpkin Recipes
Gluten Free Raw Foods
Gluten Free Rice
Gluten Free Rolls
Gluten Free Salads
Gluten Free Sauces
Gluten Free Sides
Gluten Free Smoothies
Gluten Free Snacks
Gluten Free Soups
Gluten Free Stir Frys
Gluten Free Sugar Free
Gluten Free Thanksgiving
Gluten Free Turkey Meals
Gluten Free Vacations
Gluten Free Vegan
Gluten Free Veggies
Gluten Free Waffles
Gluten Free Zucchini Recipes
Only 1 Kind Flour Recipes
Only-1-kind-flour-recipes
Other
Search our Website:


Archives
August 2020
June 2019
May 2019
April 2019
November 2015
July 2015
February 2015
January 2015
December 2014
November 2014
October 2014
September 2014
August 2014
July 2014
June 2014
May 2014
April 2014
March 2014
February 2014
January 2014
December 2013
November 2013
October 2013
September 2013
August 2013
July 2013
June 2013
May 2013
April 2013
March 2013
February 2013
January 2013
December 2012
November 2012
October 2012
September 2012
August 2012
July 2012
June 2012
May 2012
April 2012










 RSS Feed