|
Let's face it natural Cashew Butter is expensive. So how about making it yourself? Cashews have a great creamy flavor and are actually used in a lot of Vegan dishes in place of dairy. It's a great alternative to peanut butter if you or your little one is allergic. We are keeping Audrey off Peanuts until at least age 2 because of the extreme allergic-potential as well as the mold factor. (Peanuts are high risk. My husband could teach you more.) Unlike store-bought brands, I don't add sugar to mine. I think cashews have an already sweet flavor and it you're using it to make cookies or spread on bread with some honey- you'll have plenty of sweetness elsewhere. I make my butter in small batches because cashews can spoil quickly. This recipe yields a little over 1/2 cup. 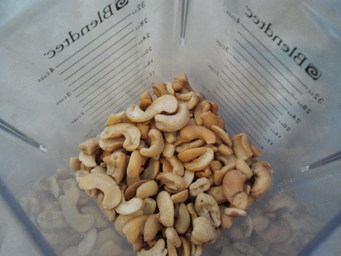 Cashew Butter (Gluten Free, Dairy Free, Sugar Free, Peanut Free, etc) Created by jalene Ingredients:
Directions:
Notes from jalene:I prefer my blender (Blentec) over a food processor because it gets the butter so much more creamier. I use grapeseed oil because of it's nutty-like flavor. You can try other oils if you prefer. If you want to make this recipe super-from-scratch you can also get raw cashews, oil and salt them yourself, and toast them in the oven at 350 F until golden brown. 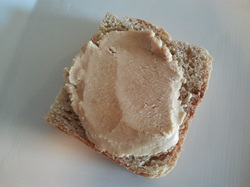 For a quick snack for Audrey I spread some over my Gluten Free, Dairy Free Bread. You can even drizzle honey on top for an extra treat!
0 Comments
If you haven't ever tried my Lentil Tacos you should! They're amazing! We actually got to the point where we PREFERRED them over Meat Tacos! Lentil Tacos are not only better for you but it saves money too!. I invented this next version out of necessity. We wanted to have lentil tacos but we needed them quick! I didn't have time to chop the onion, etc. This recipe is SO easy. All you do is saute the lentils for a minute with taco seasoning, add the liquids, and cover and simmer for 20 minutes. EASY! It also serves as a great dip! (see below) 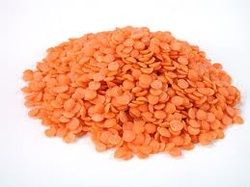 Quick Lentil Tacos (Gluten-Free, Dairy-Free Sugar-Free, Nut-Free, Egg-Free, Can be Vegan) Created by jalene Ingredients:
Tips from jalene:To make this VEGAN simply use vegetable broth instead of beef broth.
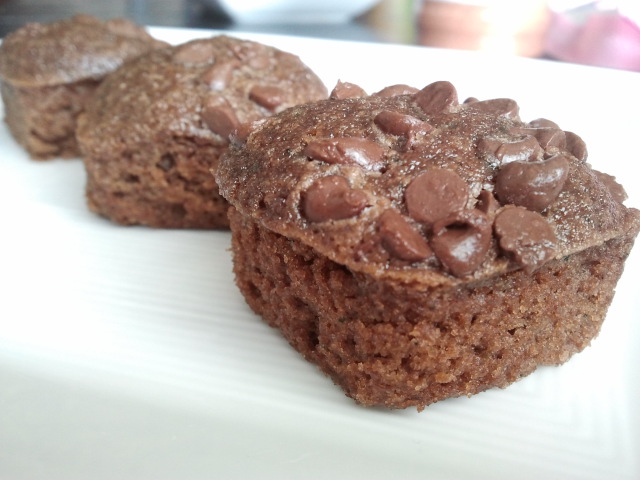
This next recipe will blow your mind! They are Grain Free, Dairy Free, Gluten Free, and Egg Free! I wish I would have invented something so incredible as this recipe but this one comes to us from www.texanerin.com. I've made these a couple of times and absolutely LOVED them. I even gave them to my extended family and they loved them! The kicker...I didn't tell them what was in them. THEY HAD TO GUESS! No one was even close! Of course they got "peanut butter" and "chocolate chips" but that was about it. When I told them, they were floored! And confused. So what in the world are these cookies made of???? GARBANZO BEANS. What?! Isn't that the stuff you make hummus out of? Yep. Trust me on this folks. Try this recipe. You will be pleasantly surprised! 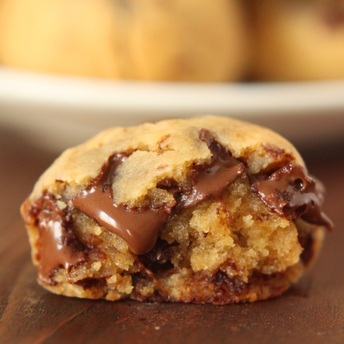 Peanut Butter Chocolate Chip Cookie Dough Bites (Grain Free, Dairy Free, Gluten Free, Egg Free, Soy Free) Created by texanerin.com Ingredients:
Notes from jalene:If you need grain-free baking powder, you can use 1 part cream of tartar + 1 part baking soda + 2 parts arrowroot.
This recipe is best cooked shortly after making. I tried refrigerating the dough and it did not work out! I was at my husband's office in the waiting room and I happened to pick up the a Magazine. I usually skip right to the recipes. They always catch my eye. I saw this one and thought I could make that! German pancakes have a lot of egg in them anyways so there's no real need for an extra binder like xanthan gum (making this corn free too). I simply subbed out the flour with rice flour. This makes such a great different breakfast than the norm. It's not too sweet yet you feel like you're eating a cousin of apple pie. And doesn't that picture look pretty too? I'm so proud. You have to admit I'm getting better at photographing my food... 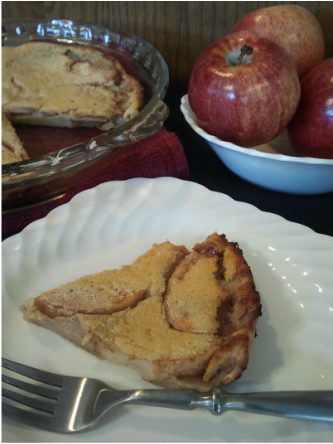 Apple Cinnamon German Pancake (Gluten-Free, Dairy-Free, Nut-Free, Corn-Free) Adapted by jalene from a recipe by Kathy Farrell-Kingsley Ingredients:
Directions:
Tip from jalene:Don't be afraid to change this up! The apples can easily be replaced by pears (which in my opinion require less sugar. I only used 1/2 tsp instead of 1 Tbsp.
This next recipe is a great idea on how to use up all of your dyed Easter Eggs! If you haven't tried deviled eggs before, they're delicious! In fact, I don't know if I ever even ate a deviled egg until I joined the Nielsen family. Now we have them at every holiday and occasional Sunday dinner. I remember a couple of years ago I decided to make them for my side of the family one holiday. Everybody turned up their noses! "Why are you making those?" was their response. But after they were made, it wasn't long before all of them were gone! This recipe is unique because it's not only gluten free but it's dairy free as well. 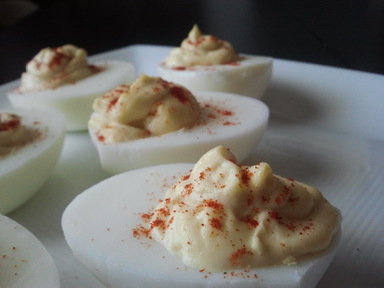 Easy Deviled Eggs (Gluten Free, Dairy Free, it can also be Soy Free by using Soy Free Vegenaise) Adapted by jalene from a Better Homes & Garden recipe. Ingredients:
Though this may not be my best picture of food...this recipe is AMAZING. It's been extended-Nielsen Family tested and approved. Even the gluten and dairy eaters loved it! I love using Tinkyada's Brown Rice Spirals for this. They cook up really nice and keep their texture. If you haven't tried their brand you should give it a try. 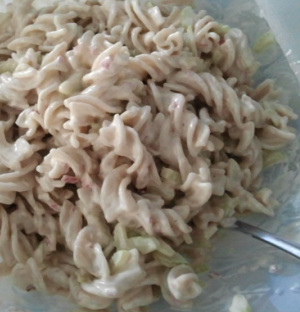 Pasta Salad (Gluten Free, Dairy Free and can be Soy Free) Adapted by jalene Ingredients:
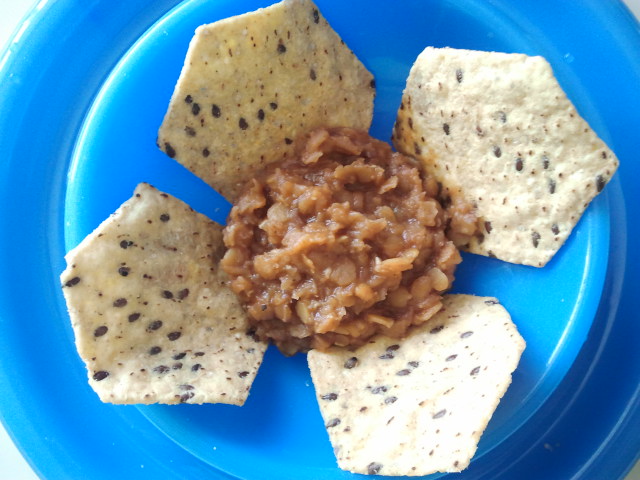
This next recipe is one of my sister-in-laws. And let me tell ya, it has got to be one of the most tastiest dips ever! She brought it to share at our big Father's Day dinner and I actually only got one chip-full before it was devoured by everyone else! There were boys seriously hovering over this thing until it was all gone. Another one of my sister-in-laws actually took some and HID IT so it wouldn't get eaten... ha ha. When you've got HOVERING and HOARDING going on, you gotta know it's good. 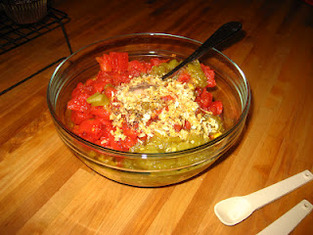 Magical Mexican Dip (Gluten Free, Dairy Free) Created by Janey Nielsen Ingredients:
Directions:
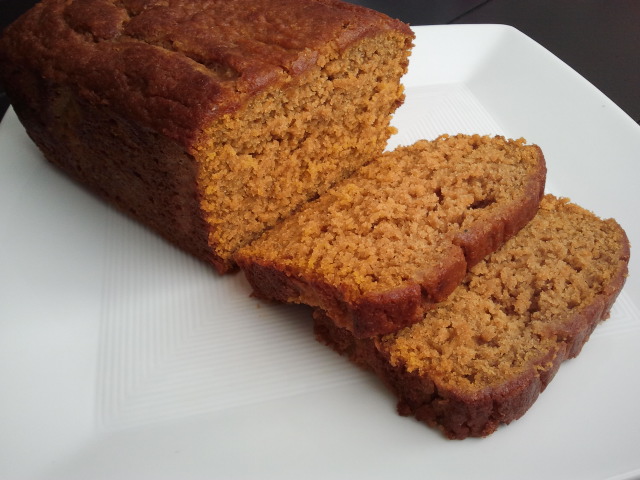
Serve with organic corn chips. Store in an airtight container in the fridge. Keeps fresh for about 2 days. Audrey is a banana-holic. I think she could live with monkeys and eat bananas all day long and be happy. We usually buy a giant bag of organic bananas at Costco to satisfy her wild appetite. :) On occasions, we can't quite eat all the bananas before they go bad. So, that's when we turn to the ol' classic: banana bread! (PS-I also love to make my gluten free banana donuts too or my Banana Almond Pancakes. If you haven't tried those recipes, you should check it out! They're so yummy!!) I've tried a lot of different gluten free banana breads over my years and they've been ok but it seems like they're not as moist as the original gluten infested version. I was playing around with one of my recipes and thought if applesauce makes my waffles moist, maybe it would do the same for banana bread! I also wanted to keep the flour simple for those who don't have all the different kinds of gluten free flours on hand. So guess what, all this calls for is brown rice flour! 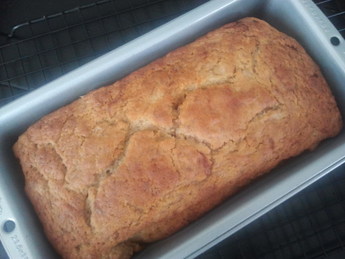 Amazingly Moist Banana Bread (Gluten Free, Dairy Free) Created by jalene Ingredients:
Tips from jalene:This bread is not super sweet so if you want it sweeter you can add more honey. You may need to add a Tbsp more brown rice flour to compensate dry vs. wet ingredients. The lemon juice is optional in the bread, it doesn't serve a purpose (it just gives it a nice taste!) so you can leave it out if you'd prefer. Enjoyed this bread? Try some of my others...Growing up I never was one to fancy the fajita. The whole giant pieces of onions grossed me out. That is until Chili's came to town! I was in love! But I never even attempted to make my own Fajitas until after I was married when my husband peaked interest. I stumbled upon this recipe after a good Google search. Now, you should know that this next recipe is not like Chili's version BUT it is SUPER good. It's actually one of the best recipes I've tasted for Fajitas. (It's also a great way to eat more vegetables!) The key to this recipe: marinating your meat! It needs to soak for about 2 hours but other than that it throws together in about 10-20 minutes. We serve ours on Gluten Free corn tortillas and walla! Makes a great meal. Even my toddler eats this! For Audrey, I simply cut up the Fajita vegetables in small pieces and serve it over the marinade rice (see very bottom for recipe). 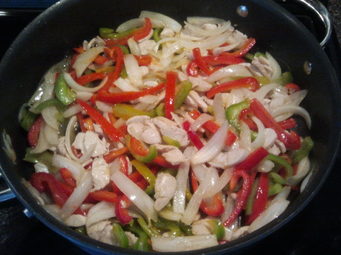 Fajitas (Gluten Free, Dairy Free) Adapted by jalene from a recipe on Food.com Meat Marinade Ingredients:
Directions for marinade: Mix all the ingredients above together and put in an airtight container in the fridge for 2 hours or overnight. Vegetables you'll need:
Vegetable Sauce Ingredients:
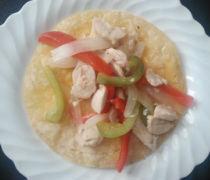 Directions:
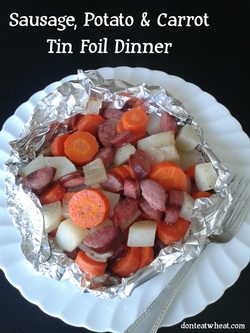
Notes from jalene:I use organic bell peppers because they are on the dirty dozen list. If organic is not available to you, use what you can. After taking a class from the Cancer Project I learned that searing your meat actuallys brings out carcinogenics which cause cancer. YIKES! You can read more about it HERE. So, though it doesn't taste as good to not sear your meat, it's SO much better for you. And trust me, with the great marinade, you wont miss a thing. Now what to do with that leftover marinade: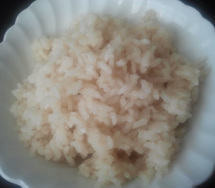 If you know me, you know I don't like to waste and I've always hated throwing away the rest of the marinade! So after a couple of times making this recipe I came up with a great idea on how to use it! Make rice! I had almost 1 cup marinade leftover so I added a little bit more water to equal 1 cup exactly and threw it in the rice cooker with 1/2 cup calrose rice. It cooked up beautifully and compliments the Fajitas beautifully! If you start the rice right after you pull the meat out of the marinade, it will be ready just about the same time as you finish the Fajitas. Hope everyone enjoyed their weekend! We took Audrey on her 2nd ever camp out! She LOVED it! I think the girl could live outdoors if I would let her. She especially loved sleeping in the tent with mom and dad. She cuddled up to "da-da" and put her check on his check to fall asleep! It was so tender. I love summer time too! And when I think of summers I always think of tin foil dinners. Weird I know but it's a summer tradition with my family! If you have never tried a tin foil dinner before, you are missing out! They're so fun to make and yummy to eat! The great thing is you can either make a large tin foil dinner for the entire family or let your kids make their own individual ones. (PS- Parent trick alert: If you allow your child to be apart of the cooking process they are more likely to try new things. Simply have all the veggies cut and ready to throw together and it's a party.) I love this next meal because it's SO healthy yet so EASY to throw together. You can make it and leave. It's versatile too so if you have certain veggies in your fridge that you need to use up, you can sub those in for others! I also love the fact that there are NO dirty cooking dishes to wash afterwards! Hurray! And if that wasn't enough there's one more...You can also cook this in a campfire too! Simply double foil it to prevent burning. Don't worry, if this is your first time making one I'll walk you through it. Here are the ingredients that you'll need for a family of 3-4. We don't eat large amounts of meat so increase that if you need to. Chicken Foil Dinner (Gluten Free, Dairy Free) Created by jalene
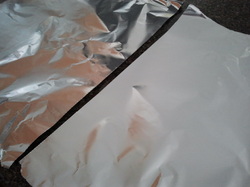 Step 1: Preheat your oven to 400 F. Start with 2 large pieces of Heavy Foil about 16-20 inches long. (Or if you have the extra-large foil you can skip steps 1-3 and just tear off about 16-20 inches of that.) 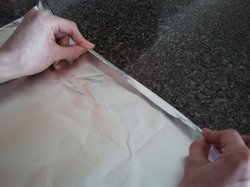 Step 2: Put the foil pieces on top of each other and fold about 1/2 inch crease. Then fold 2 more times making sure the fold is tight (I use my fist to pound on it.) 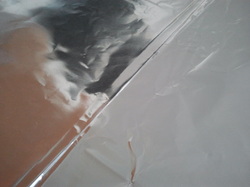 Step 3: Open up the foil and smooth. The two foil pieces should now be one giant piece. 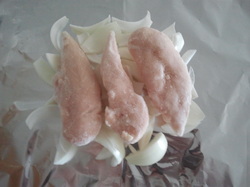 Step 4: Next comes the fun. Add your onions and chicken 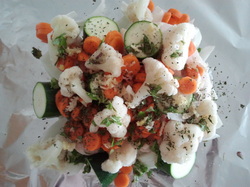 Step 5: Followed by all your other veggies and seasonings. 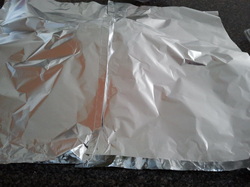 Step 6: Make a top for your dinner by following steps 1-3 again. 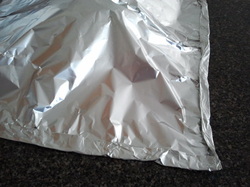 Step 7: Start on one end and fold the side in, then rotate and fold the next side, and so on. 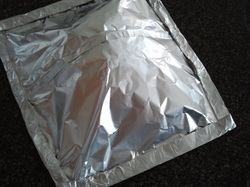 Step 8: Continue folding until you reach the food. Stamp down the creases with your fist to make sure it is tightly sealed. 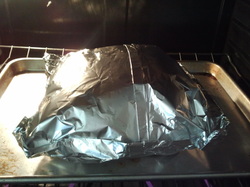 Step 9: Pop that baby into the oven and watch it EXPAND! (I put mine on a cookie sheet just in case the foil should spring a leak.) It should bubble up if you sealed it tightly. If it does not, don't worry, it still will cook well. Bake for about 40 minutes. Walla! And that is how you make a Tin Foil Dinner! Notes from jalene: Once you get use to this recipe, play around with it! There are so many different options of veggies or seasonings. If you cook this in a fire, know that it will cook a lot FASTER! We usually pull it out to check on it to make sure it doesn't burn. This recipe is a great one for Dr. Nielsen's Candida Cleanse! Love to camp? You may also like:
|
jalenewife of a holistic doctor & Recipe Categories:
All
Search our Website:

Archives
August 2020
|



 RSS Feed